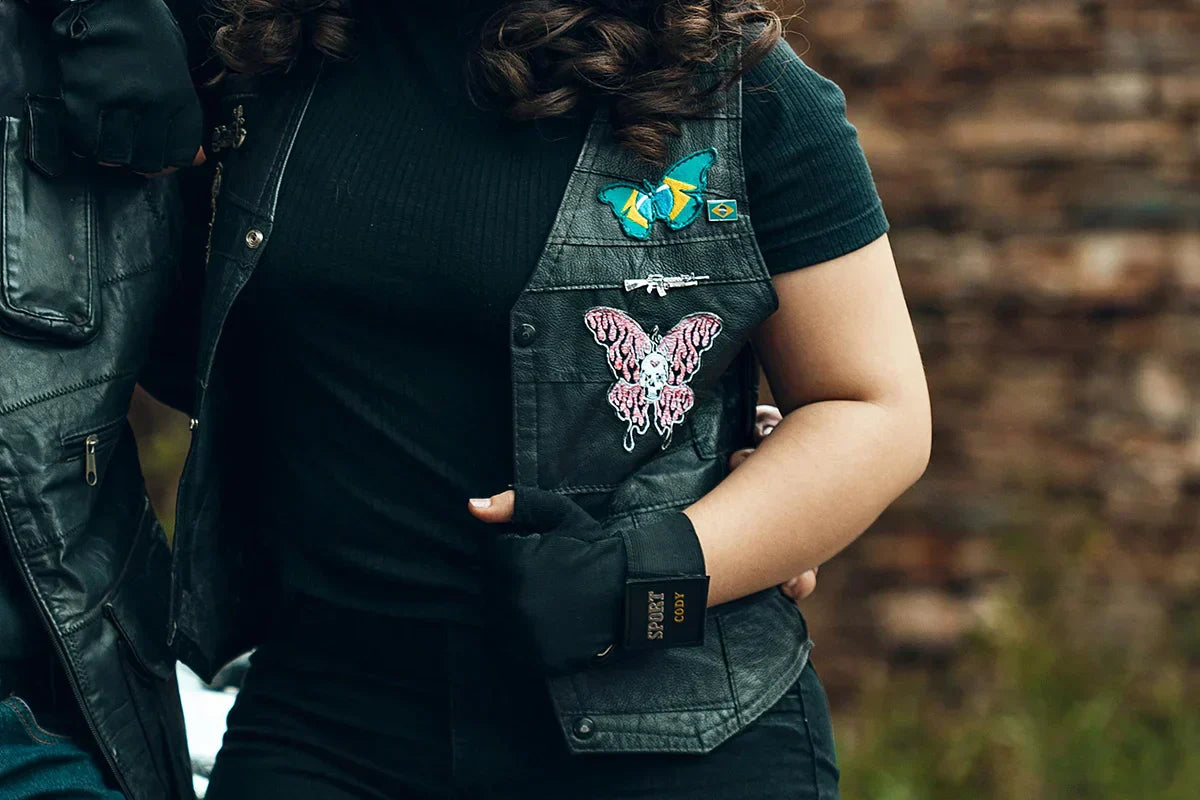
The addition of leather vest patches serves as an excellent method to display personal interests and group connections along with earned accomplishments. The process of correctly attaching patches to leather ensures their secure attachment without harming the material nature of the item regardless of your belonging to a motorcycle club or military background or just wanting fashion wear. The following guide will present you with necessary materials and preparation techniques alongside sewing instructions to obtain expert outcomes.
What You’ll Need
Before you begin, gather the necessary tools and materials to ensure a smooth process:
- The kit contains strong sewing needles and waxed thread that works well with leather materials.
- For your selection choose special embroidered or fabric patches.
- Leather conditioner sets in to keep the material easy to handle.
- The toolkit consists of thimble and pliers which assist in piercing heavy leather fabric with needles.
- Use chalk or fabric pencil to draw marking lines.
- Use double-sided tape or sewing glue to stick patches during sewing preparation.
Preparing Your Leather Vest
Proper preparation is key to ensuring a successful patch application.
Cleaning and Conditioning the Leather
It is recommended that you wear a vest before sewing but ensure to clean or wipe your vest with a damp cloth in case it is dusty or dirty. Moisturize the leather material to avoid cracking especially if it is an old vest or it has been used out in the harsh weather.
Learn more about leather care here: How To Clean Leather Vest?
Choosing the Right Spot for Your Patch
- Determine where exactly your patch needs to be located and if you are estimating the area of the patch or any other mounted parts of the cover which will be constructed as a patch. The back panel is recommended for the big artwork, while for the small artwork, it can be placed in the chest or the sleeve section.
- You may use chalk to draw the exact position right before sewing or use fabric pencil.
- Ensure that its application conforms to the seams and existing ornamentation to have a good appearance.
Step-by-Step Guide to Sewing Patches
Once your vest is prepped, it's time to start sewing!
Step 1: Positioning the Patch
- Priority location receives the placement of the patch.
- Make use of double-sided tape together with temporary fabric glue to keep the patch stable during sewing.
- Double-check the alignment before proceeding.
Step 2: Hand Stitching vs. Using a Sewing Machine
Hand Stitching Method
- A heavy-duty needle should receive waxed thread as an essential step to ensure longer life.
- A thimble should protect your fingers when you use the needle to pass through the leather material.
- Securely start stitching at one edge of the patch by implementing a whip stitch or running stitch along its entire border.
- Use an equal distribution of stitches which should be tightened for a proper secure bond.
Sewing Machine Method
- If you are using a heavy duty sewing machine then set a leather needle and use strong polyester thread.
- Adjust the machine length to a longer stitch length to avoid unnecessary perforations of the leather.
- Stitch slowly and carefully so the patch stays in its place.
Step 3: Securing the Patch and Finishing Touches
- If the patch is wired securely then please tie the thread tight and cut any extra.
- Rub around the stitches with a small quantity of leather conditioner to make it blend as one piece with the vest.
- The patch should be reversed facedown and lay on top of the color back material with the correct side facing toward the top and if desired, you can use a clear fabric glue around the edges of the patch for extra security.
Tips from the Experts
To achieve a professional finish, follow these expert recommendations:
- A curved needle – helps hand sewing thick leather.
- If sewing by hand, pre-punch holes with an AWL will lessen the strain.
- Anywhere you want to have your patch really stick to your fabric, double stitch high stress areas to be sure your patch stays secure over time.
Case Studies: How Others Customized Their Vests
Many riders and collectors have transformed their vests into unique statement pieces. Here are some inspiring examples:
- Phrasal names for Motorcycle Club Members representing a series of actions they are supposedly involved in, an embroidered club logo on the back and a smaller patch on the front for each milestone.
- After the military, there are custom vests with unit insignia or service medals.
- Artwork or slogan as patches, DIY designed.
Pros and Cons of Adding Patches to Leather Vests
Pros:
- Personalize your vest and make it unique.
- Strengthens leather in areas with heavy wear.
- Adds sentimental or symbolic value.
Cons:
- Poor stitching can damage leather if done incorrectly.
- Removing patches may leave visible holes or marks.
- Sewing through thick leather requires patience and the right tools.
FAQs
What type of thread should I use?
For durability and water resistance, you should use waxed polyester thread.
Can I glue patches instead of sewing?
Yes, sewing, however, yields a stronger and permanent hold. If you’re only using fabric glue as a temporary help before stitching, it is best to use.
Will sewing damage my leather vest?
None, if you do it right with the right tools, sewing shouldn’t really damage the leather. Instead, don’t make any unnecessary holes and condition the leather afterward.
Conclusion
Regardless of personal style, putting fabric pieces onto a leather vest creates both unique flair and structural preservation of the vest. The guidelines in this manual will help you apply customizations to your vest both skillfully and durably.
As you follow our expert guide on sewing patches onto your leather vest, take a moment to explore our collection:
See how each piece combines quality craftsmanship with enduring style.

