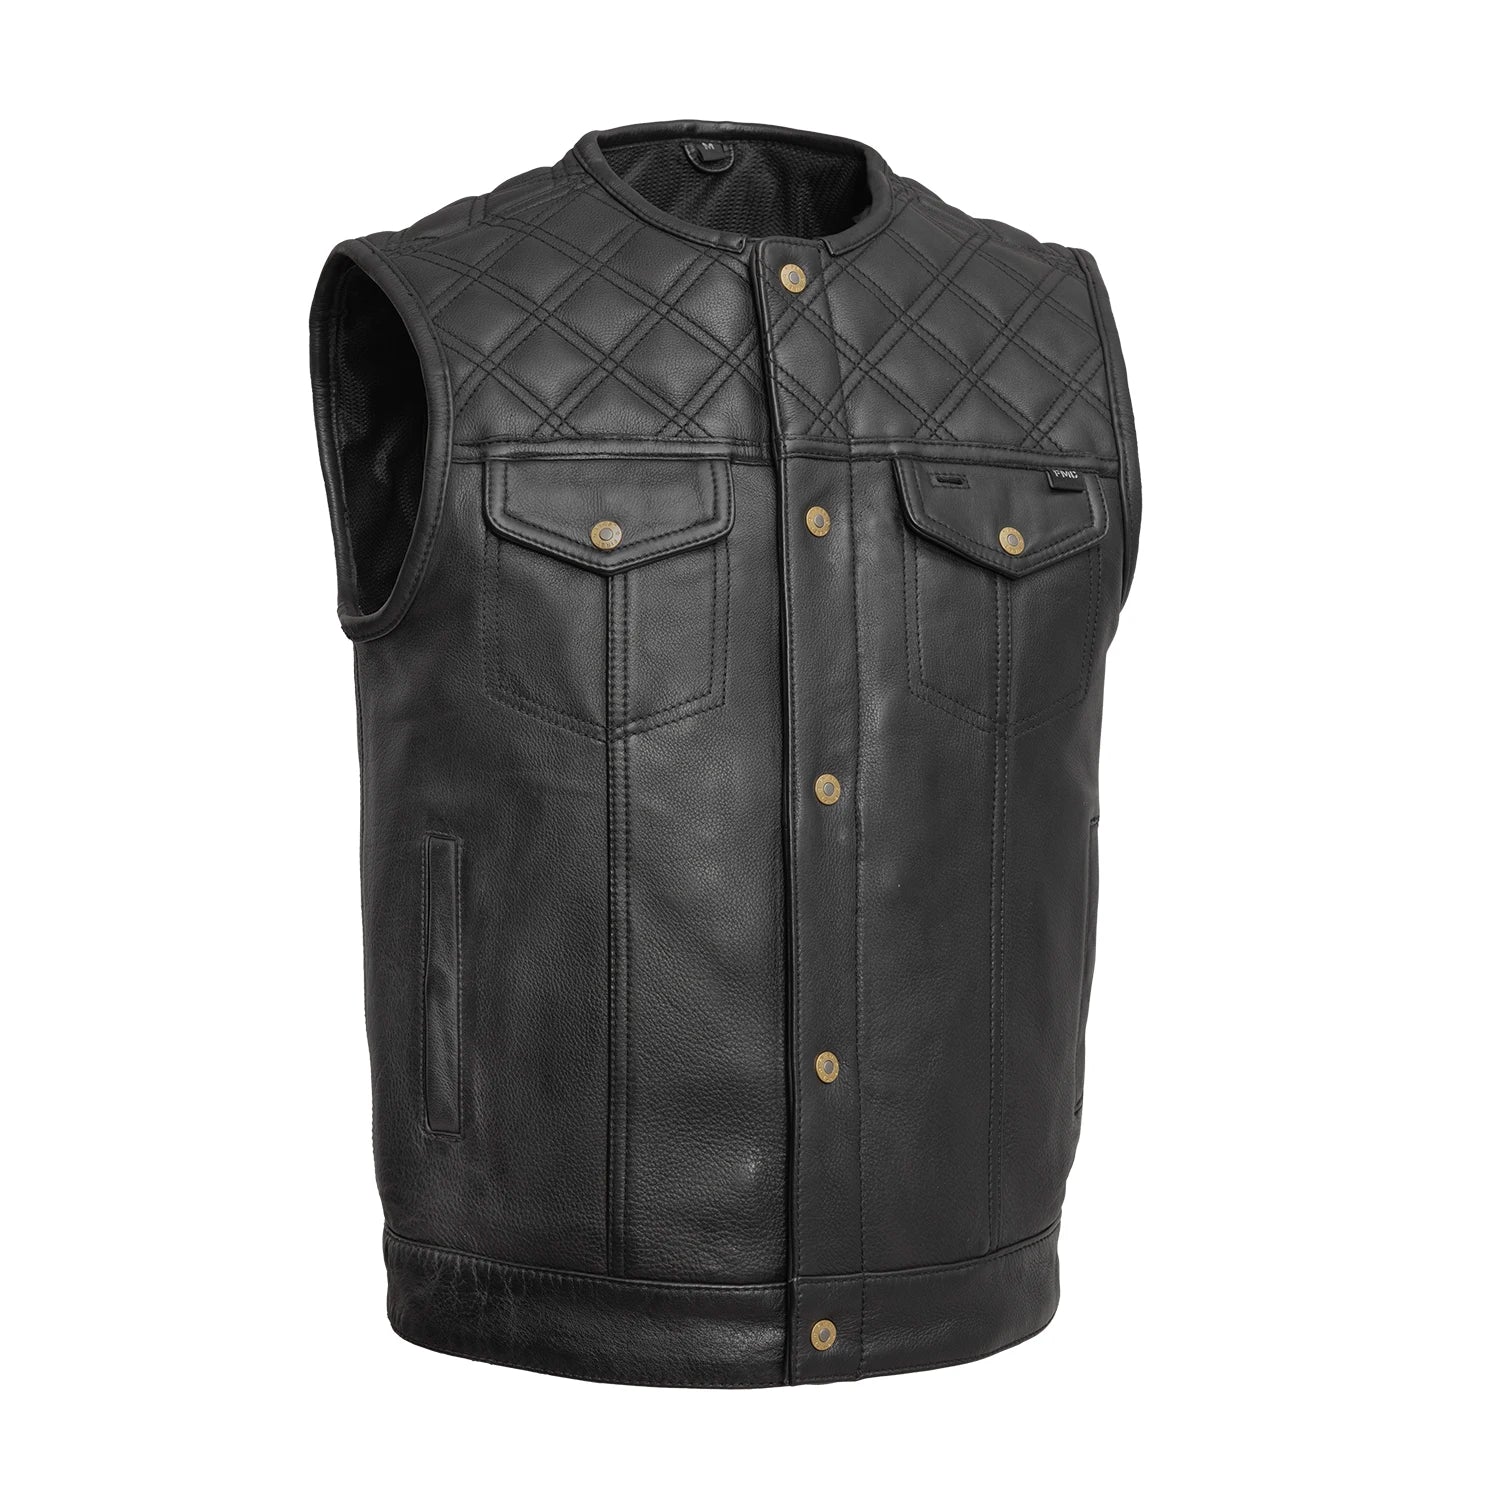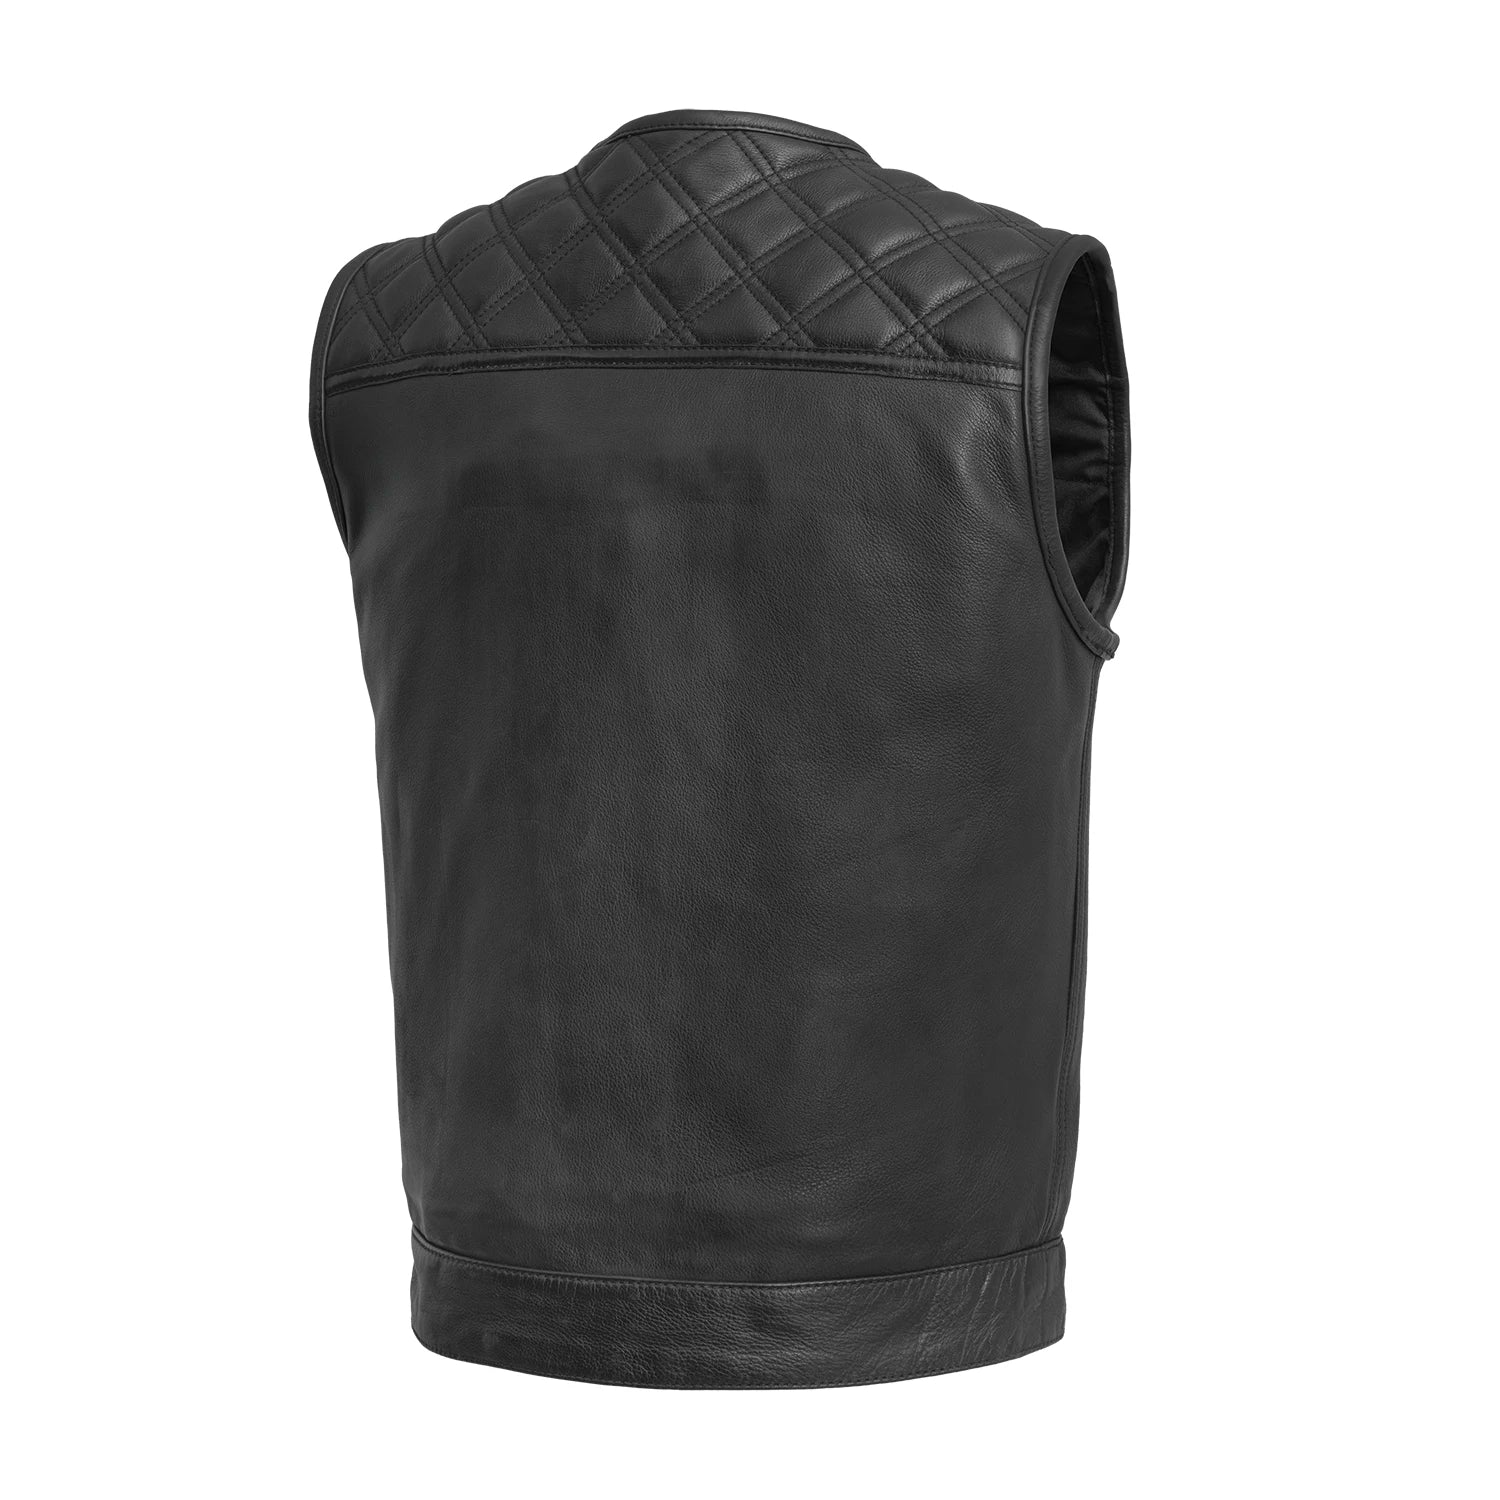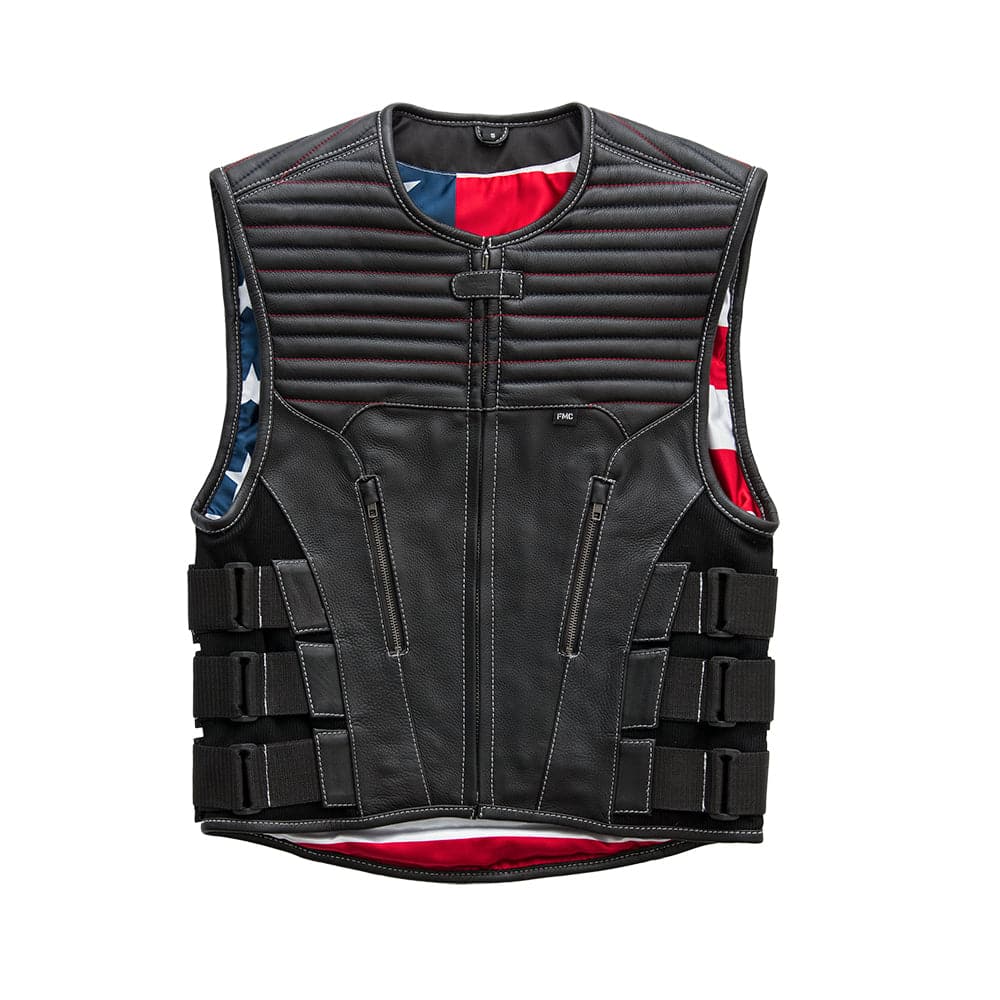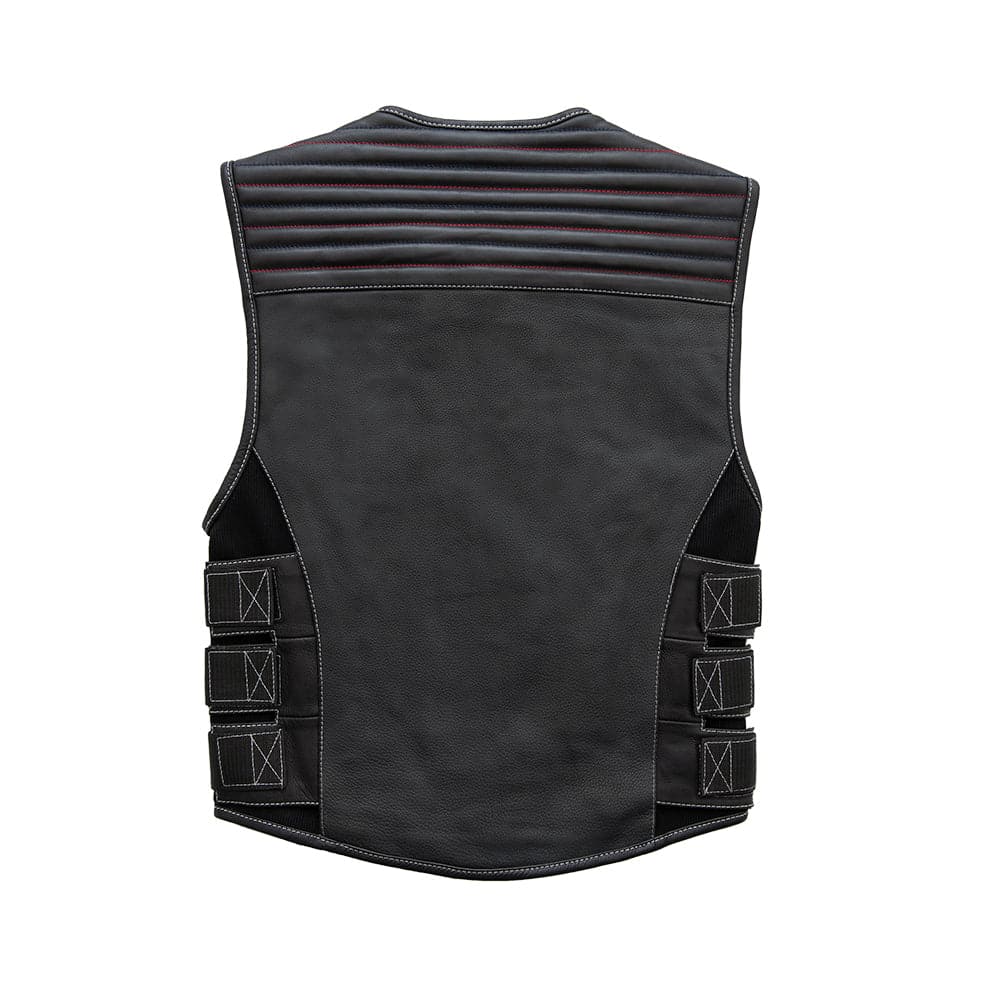
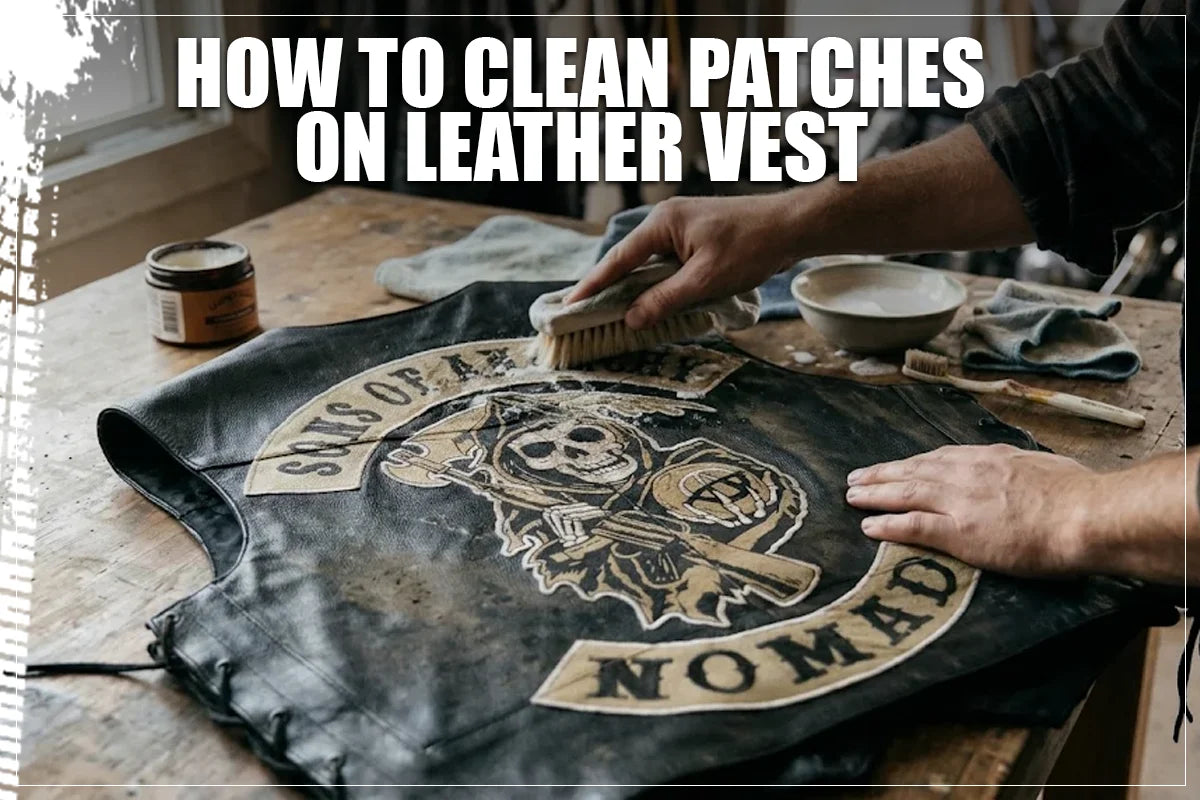
To clean patches on a leather vest, brush off loose dirt with a soft brush, then dab each patch with a clean, barely damp microfiber cloth and a drop of mild soap if needed. Test a hidden spot first, work in the direction of the stitching, never soak or rub, and let the vest air dry away from heat. Never put a leather vest in a washing machine or dryer. Spot cleaning, gentle blotting and patience protect both the patches and the leather underneath.
A patched vest tells a story: rallies, club colors, miles ridden, people met. It also collects road dust, fuel stop grime, sweat, rain and the occasional spilled drink, and all of that settles into raised thread, stitched borders and the seams where patches meet leather. Clean it the wrong way and you can fade the colors, fray the edges, loosen the stitching or stain the leather around the patch.
This guide shows you how to clean patches on a leather vest safely, whether you wear a club cut covered in embroidered patches or a simple vest with a few PVC and leather badges. The steps work on leather motorcycle vests. You will learn how to identify your patch type, what supplies to use, a step-by-step method, how to tackle specific stains such as grease and mud, and how to dry, store and protect your patches so they stay sharp for years.
Why Patches on a Leather Vest Need Special Care
Cleaning a patch on a leather vest is not the same as cleaning a patch on a denim jacket or a hoodie. Three things make it trickier:
-
Two materials, two sets of rules: Leather dislikes soaking, heat and harsh chemicals. Patches, depending on their construction, can dislike scrubbing, solvents and moisture trapped behind them. A method that is safe for one can harm the other.
-
Raised thread traps dirt: Unlike a flat printed graphic, embroidery has stitched surfaces, borders and tiny gaps where grit settles. Grit that stays in place can wear down thread through friction.
-
Attachment matters: Sewn-on patches are held by thread passing through the leather. Adhesive or iron-on backings can loosen with moisture and heat. Too much water can also soak through to the reverse side of the patch and the leather beneath it.
The golden rule is to start with the gentlest method and only step up if you need to.
Know Your Patch Type Before You Clean
Identify what is on your vest first. Different patches react differently to moisture, rubbing and heat.
|
Patch type |
What it is |
Safe cleaning approach |
What to avoid |
|
Embroidered |
Raised thread stitched onto a backing |
Soft brush, then dab with a barely damp cloth |
Scrubbing across the stitches, soaking |
|
Woven |
Fine, flat thread weave with detailed designs |
Dry brush and light dabbing |
Rough rubbing, which can fray fine threads |
|
Chenille |
Fluffy, varsity-style looped yarn on felt |
Light brushing and gentle blotting only |
Friction and water, which flatten the texture |
|
PVC / rubber |
Molded, slightly raised plastic-style patches |
Wipe with a damp cloth and mild soap |
Heat, solvents and strong cleaners |
|
Leather patch |
Genuine or faux leather, stamped or embossed |
Dry cloth first, then a lightly damp cloth if the finish allows it |
Soaking, harsh detergents, saturating the edges |
|
Printed / sublimated |
Smooth printed or dye-transferred design |
Light dabbing with a cold, barely damp cloth |
Sun, heat and rubbing, which can fade the print |
|
Sequin or appliqué |
Sequins or layered fabric shapes |
Dry brush and spot dabbing |
Pulling and snagging, which loosens pieces |
|
Velcro-backed |
Removable hook-and-loop patches |
Remove before cleaning the vest |
Letting lint clog the hook side |
Check how each patch is attached: Look at the border and corners. Even visible stitches mean the patch is sewn on. A patch with no visible stitching may be bonded with adhesive or iron-on backing, sometimes combined with stitching. Loose edges, cracked backing or broken stitches need extra gentle handling, and are better repaired before you clean (see the repair section below).
Check the leather, too: Smooth finished leather can handle a lightly damp cloth. Suede, nubuck and heavily distressed or waxed leather need dedicated products and extra caution. If your vest came with a care label, read it first. Women’s vests are often cut from lighter-weight hides, so on womens leather biker vests go even easier on moisture.
What You Need
You don’t need a special kit. Gather these supplies:
-
A soft-bristle brush (a horsehair brush or a soft clothes brush)
-
A soft toothbrush for tight spots
-
Two or three clean white microfiber cloths (white so you can see any dye transfer)
-
Cotton swabs for small details and edges
-
Distilled water, which avoids mineral spots
-
A mild, dye-free soap or gentle delicate wash (a tiny amount, diluted)
-
A leather-safe cleaner or saddle soap for the surrounding leather, if needed
-
A lint roller for dust and lint, especially on chenille and Velcro-backed patches
-
A dry towel to blot moisture
-
A padded hanger or a flat, clean surface for drying
-
Optional: cornstarch (for fresh grease), a handheld vacuum with a soft brush attachment on low suction
Before You Start: Prep the Vest
-
Empty it out: Remove pins, keys, tools and anything in the pockets, and fasten or tuck away buckles, chains and loose trim so they don’t drag across patches or scratch the leather.
-
Lay it flat: Place the vest on a clean towel or hang it on a sturdy padded hanger where you can see each patch clearly.
-
Inspect everything: Look for loose thread, lifted edges, cracked backing, mildew, stains and areas where the dye may already be changing.
-
Spot test: Choose a hidden edge of the patch or an inconspicuous area. Dampen a white cloth with distilled water, press it lightly there, and wait for it to dry. Check for color transfer, bleeding, stiffness or a change in the leather. If the color moves, do not wet clean that patch. Dry brushing is your safest option.
-
Protect the leather: Slide a clean dry cloth or towel behind or beneath the area you are working on so moisture doesn’t spread into the leather.
How to Clean Patches on a Leather Vest: Step by Step
Step 1: Dry brush away loose dirt
Use a soft brush and sweep lightly in the direction of the embroidery or weave, never scrubbing across raised thread. Brush from the center outward and finish along the edges. For fine detail, a soft toothbrush works well. If you use a handheld vacuum, set it to the lowest suction and use a soft brush attachment, ideally held a short distance from the patch rather than dragged across it. A lint roller can lift surface dust from flat patches and from between patches.
Step 2: Dab with a barely damp cloth
Dampen a white microfiber cloth with distilled water, then wring it out until it is barely damp. Press and dab the patch gently, lifting the dirt rather than pushing it deeper. Blot, don’t rub. Turn to a clean part of the cloth as it picks up dirt. If it is too wet, stop and squeeze it out. Water should never run into the stitches or soak the leather beneath.
Step 3: Use mild soap only where needed
If plain water isn’t enough, mix one or two drops of mild, dye-free soap into a small cup of distilled water. Dip the corner of a cloth or a cotton swab into the solution (not the vest), wring it out, and dab the soiled area. Work from the outside of the stain toward the center so it doesn’t spread. Use a soft toothbrush lightly for embedded dirt on embroidered patches, keeping to the direction of the stitches.
Step 4: Rinse residue with a clean damp cloth
Soap left behind can attract dirt and stiffen thread. Go over the area with a fresh cloth dampened with plain distilled water, dabbing lightly to lift away the residue. Repeat once or twice if needed, then stop. More wetting is not better.
Step 5: Blot dry
Press a dry, clean towel or microfiber cloth over each patch to absorb surface moisture. Don’t twist, wring or rub. Gently reshape any raised or fuzzy patches, such as chenille, with your fingertips while they are still slightly damp.
Step 6: Clean the leather around the patches
Wipe the surrounding leather with a soft cloth lightly dampened with water, or use a leather cleaner made for your type of leather, following the product directions. Keep cleaner away from the stitching and patch edges, and see our full guide on how to clean a leather vest for the complete routine. Test first, and pay special attention to seams and creases, where grime builds up, while staying gentle around zippers, snaps and hardware to prevent scratches.
Step 7: Air dry completely
Let the vest dry naturally on a padded hanger or lying flat in a cool, ventilated room, away from radiators, hairdryers, direct sun and car dashboards. Heat can dry the leather, shrink or warp patches and weaken adhesive backing. Once fully dry, give the patches a final light brush to lift any remaining dust and restore their texture.
How to Remove Specific Stains from Vest Patches
Different messes need different handling. Always spot test first and work gently.
-
Dust and road grime: Dry brush first, then dab with a barely damp cloth. Repeat as needed rather than scrubbing hard.
-
Mud: Let it dry completely, then brush it off with a soft brush before any moisture touches it. Wetting wet mud pushes it into the thread.
-
Fresh grease or oil: Blot (don’t rub) with a clean cloth, sprinkle a little cornstarch to absorb the oil, wait several hours, then brush it off. Repeat if needed. Old, set-in grease is a job for a professional.
-
Sweat and salt marks: Dab with a cloth dampened with distilled water, then a clean damp rinse cloth. Dry naturally.
-
Bug splatter: Act quickly. A cloth with a drop of mild soap and water, dabbed gently, usually lifts it. Dried residue is more stubborn, so avoid scraping.
-
Rain spots and water marks: Let the vest dry fully, then brush. Light moisture sometimes leaves a tide line, which is a good reason to dab the entire patch area evenly rather than one spot.
-
Cigarette smoke and musty odors: Air the vest in a shaded, ventilated area. A breathable bag of baking soda or activated charcoal placed nearby (not on the patches) can help absorb odor. Don’t seal a musty vest in plastic. For a deeper fix, read our guide on how to get odor out of a leather jacket or vest.
-
Mildew: Dry brush off surface spores outdoors, then air out in the shade. If the smell or growth persists, take the vest to a professional leather cleaner rather than experimenting.
-
Ink, paint or dye transfer: These need specialist treatment. Don’t use rubbing alcohol or household stain removers, which can strip leather finish and bleed dye. Take the vest to a professional leather and patch cleaner promptly.
How to Clean Leather Patches on a Vest
Leather patches on a leather vest are common for club names, ranks, and personal details. Because they are made of leather, they need leather care, not fabric care.
-
Wipe with a dry or lightly damp cloth: Start with a soft dry cloth to remove dust. Use a barely damp cloth only if the finish allows it.
-
Skip saturation: Moisture seeping around the patch edge can reach the reverse layers and the stitching.
-
Condition sparingly: Use a small amount of leather conditioner only if the patch feels dry, and keep it off nearby embroidery. Test a hidden spot first, because the conditioner can darken or change the sheen of some finishes.
-
Know faux from genuine: Faux leather patches have a coated surface and may react badly to conditioners and solvents. Clean them with a lightly damp cloth and follow the maker’s directions.
-
Understand patina: Natural leather darkens and changes tone with use, light and handling. Patina isn’t dirt, and repeated cleaning won’t bring back the original shade.
-
Suede or nubuck patches: Need a dedicated suede product, because cream cleaners can matt down the nap.
What Not to Do When Cleaning Patches on a Leather Vest
-
Never use a washing machine: Agitation, water and spin cycles can warp the leather, loosen stitching and ruin patches. Textile-care advice that says “gentle machine wash” does not apply to a leather vest.
-
Never use a tumble dryer: Heat and tumbling dry out leather, shrink patches and weaken adhesive.
-
Don’t soak the vest or the patch: Excess water can stain leather, soften glue and leave water rings.
-
Avoid bleach, solvents and household stain removers: These can discolor patches and strip leather finish.
-
Skip rubbing alcohol and strong adhesive: Removers on or near patches. They can dissolve dyes, coatings and adhesives.
-
Don’t use a stiff brush or scrub across the stitching: It frays threads and flattens raised embroidery.
-
No hairdryer, heater or direct sunlight: For drying, heat dries leather and can fade or warp patches.
-
Avoid fabric softeners, enzyme detergents and harsh laundry products: They leave residue and can weaken bonding.
-
Don’t iron over patches: If you need to press a fabric patch, use the reverse side with a cloth barrier, and never iron PVC, leather, chenille or sequin patches.
How to Dry and Protect Patches After Cleaning
Good drying is where a careful cleaning job can be saved or spoiled.
-
Blot first: Press away surface moisture with a dry towel.
-
Support the weight: A heavily patched vest is heavy. Hang it on a broad, padded hanger that supports the shoulders, or lay it flat on a towel while it is damp so the weight doesn’t pull the leather out of shape.
-
Give it airflow, not heat: Pick a cool, shaded, well-ventilated spot. Heat can cause shrinkage and weaken adhesive.
-
Fluff and reshape: Once dry, brush patches lightly and reshape raised or chenille patches by hand.
-
Consider a protector: A spray made for fabric and leather can help repel dust and light moisture. Test it on a hidden spot first, keep it away from adhesive-backed edges, and avoid overspraying the leather.
What to Do If a Patch Is Peeling, Fraying or Lifting
Stop pulling at the loose area. A lifted corner is easy to make worse, and tugging can stretch the leather, fray the embroidery or turn a small repair into a full reattachment.
-
Loose threads: Snip them close to the patch with small scissors. Don’t pull, which can unravel the stitching.
-
Lifted edges on a sewn patch: Re-stitch the border with strong thread, ideally using a leather needle, or take the vest to a leather repair shop. Leather doesn’t heal around needle holes, so poor placement leaves permanent marks. Our guide on how to sew patches on a leather vest covers the needle, thread and stitching steps.
-
Peeling adhesive or iron-on patches: Leather and household irons are a risky combination because heat can damage the leather. Ask a leather specialist how to reattach it safely.
-
Badly faded, torn or cracked patches: Replace them with new ones rather than trying to restore them.
Removing a patch to clean underneath? Think twice. Removing a patch can leave discoloration (the leather underneath is often a different shade from the sun-exposed area around it), adhesive residue, needle holes, and, if the patch was sewn on, stretched or damaged leather. If you must remove one, use a professional.
How Often Should You Clean Patches on a Leather Vest?
-
After every ride or event: Brush off dust and lint, especially after dusty or wet rides.
-
Every month or two (heavily worn vests): Spot clean any visibly soiled patches with a barely damp cloth.
-
Once or twice a year: Do a full clean of the vest and patches, and condition the leather if it feels dry, keeping product off the patches. If the leather has gone stiff, our guide on how to soften a leather vest explains safe ways to restore flexibility.
-
Any time you spot a stain: Treat it quickly. Fresh stains are easier to lift than old ones.
Over-cleaning wears the thread and the leather as much as under-cleaning, so keep it light.
How to Store a Patched Leather Vest
Storage decides whether your patches stay sharp or dull between seasons.
-
Start clean and fully dry: Never store a vest that is damp, dusty or sweaty.
-
Use a wide, padded hanger: Narrow wire hangers can distort the shoulders of a heavy patched vest. Leave space so patches aren’t pressed against other garments.
-
Choose breathable storage: Use a cotton garment bag, never plastic, which traps moisture and encourages mildew.
-
Keep it cool, dry and out of the sun: Aim for moderate humidity, away from windows, radiators and hot garages. Silica gel packets in the closet can help control moisture in humid climates.
-
Don’t fold it: Folding a stiff, patched vest leaves permanent creases and presses patches against the leather.
-
Separate hardware: Keep buckles, chains, pins and heavy trim from rubbing against patches or catching the edges.
-
Inspect before the next ride: Check shoulders, seams, patch borders, stitching and hardware for lifting, loose threads, mildew smell or new stains.
When to Call a Professional
Take the vest to a qualified leather cleaner or repair shop if:
-
There are ink, paint, oil or old stains on a patch or leather
-
You see mildew that returns after airing
-
The patch colors bleed during a spot test
-
The vest is expensive, vintage or sentimental, with rare or hand-made patches
-
Patches are peeling, torn or need to be removed and reattached
-
The leather feels brittle, cracked or very dry around the patches
Ask specifically whether the shop regularly works with motorcycle vests, leather garments and patches. A general alteration shop may not have the right experience or equipment.
Final Thoughts
Cleaning patches on a leather vest comes down to a few habits: brush first, dab don’t rub, use as little moisture as possible, test before you treat, and let the vest air dry. Skip the washing machine, the dryer and harsh chemicals, and the patches you have earned will keep their color, shape and story for years.
A well-built vest also makes patch care easier. Browse our leather motorcycle vests built from quality hides with construction designed for years of riding, club colors and everything you stitch onto them.
Frequently Asked Questions
Can I wash a leather vest with patches in the washing machine?
No. A washing machine can warp leather, soften adhesive, loosen stitching and damage patches. Spot clean the patches with a barely damp cloth and clean the leather with a leather-safe cleaner instead.
What is the best way to clean embroidered patches on a leather vest?
Brush lightly with a soft brush in the direction of the stitches, then dab with a barely damp white microfiber cloth. Add a drop of mild soap only if needed, rinse with a clean damp cloth, blot dry and air dry.
Can I use a toothbrush to clean patches on a vest?
Yes, a soft toothbrush works for tight spots and embedded dirt on embroidered patches. Use light pressure and brush along the stitches rather than across them.
How do I get grease or oil off a vest patch?
For fresh grease, blot with a clean cloth, sprinkle cornstarch to absorb the oil, wait several hours, then brush it off. Repeat if necessary. For old or set-in oil, see a professional leather cleaner.
Can I use rubbing alcohol or bleach on vest patches?
It’s best not to. Bleach can fade patch colors, and rubbing alcohol can dissolve dyes, coatings and adhesives and strip the finish from leather.
Can I use a hairdryer to dry a vest after cleaning the patches?
No. Direct heat can dry the leather, shrink or warp patches and weaken adhesive. Let the vest air dry in a cool, ventilated place away from heaters and sunlight.
How do I clean leather patches on a vest?
Start with a soft dry cloth to remove dust. If the finish allows, use a barely damp cloth, avoid saturating the edges, let it dry naturally, and apply a tiny amount of conditioner only if the patch is dry. Test first.
Does cleaning remove the patina from leather patches?
Patina is a natural change in tone and sheen from use and exposure, not dirt. Cleaning won’t restore the original shade, and repeated cleaning can cause further changes, so clean only what is actually dirty.
How do I stop patches from fading?
Clean them sparingly and gently, keep the vest out of direct sunlight, air it in the shade, avoid heat and harsh chemicals, and store it cool and dry in a breathable garment bag.
Should I remove patches before cleaning my leather vest?
Usually no. Removing patches can leave discoloration, adhesive residue and needle holes. Only Velcro-backed patches are meant to come off. For sewn-on patches, spot clean them in place.